PowerShellは、Windowsの管理や自動化を行うための強力なツールですが、.NETのクラスを利用することでスクリーンキャプチャの取得も簡単に行えます。
この記事では、Powershellでスクリーンキャプチャを取得する方法について説明します。
スクリーンキャプチャを取得する
必要なライブラリのインポート
まず、必要な.NETクラスをインポートします。これには、System.DrawingおよびSystem.Windows.Formsのライブラリが必要です。以下のスクリプトをPowerShellに入力して、ライブラリをインポートしましょう。
■ライブラリのインポート
Add-Type -AssemblyName System.Drawing
Add-Type -AssemblyName System.Windows.Forms
スクリーンキャプチャを取得するスクリプト
次に、実際にスクリーンキャプチャを取得するスクリプトを作成します。
■スクリプト
# スクリーン全体のサイズを取得
$bounds = [System.Windows.Forms.Screen]::PrimaryScreen.Bounds

# ビットマップオブジェクトを作成
$bitmap = New-Object System.Drawing.Bitmap $bounds.Width, $bounds.Height

# グラフィックスオブジェクトを作成
$graphics = [System.Drawing.Graphics]::FromImage($bitmap)

# スクリーン全体をキャプチャ
$graphics.CopyFromScreen($bounds.Location, [System.Drawing.Point]::Empty, $bounds.Size)

# 画像をファイルに保存
$filePath = "C:\temp\sample\Screenshot.png"
$bitmap.Save($filePath, [System.Drawing.Imaging.ImageFormat]::Png)

# リソースを解放
$graphics.Dispose()
$bitmap.Dispose()

Write-Output "スクリーンキャプチャを取得し、$filePath に保存しました。"
2行目で、メインディスプレイのサイズを取得します。
5行目で、キャプチャした画像を保存するためのビットマップオブジェクトを作成します。
8行目で、ビットマップに描画するためのグラフィックスオブジェクトを作成します。
11行目で、スクリーン全体の内容をビットマップにコピーします。
15行目で、ビットマップをPNG形式で指定した14行目のパスに保存します。
18、19行目で、使用したグラフィックスオブジェクトとビットマップオブジェクトを適切に解放します。
21行目で、スクリーンキャプチャが正常に完了したことを表示します。
完全なスクリプトの実行
では、スクリプトを実行します。
■完全なスクリプト
Add-Type -AssemblyName System.Drawing
Add-Type -AssemblyName System.Windows.Forms
# スクリーン全体のサイズを取得
$bounds = [System.Windows.Forms.Screen]::PrimaryScreen.Bounds
# ビットマップオブジェクトを作成
$bitmap = New-Object System.Drawing.Bitmap $bounds.Width, $bounds.Height
# グラフィックスオブジェクトを作成
$graphics = [System.Drawing.Graphics]::FromImage($bitmap)
# スクリーン全体をキャプチャ
$graphics.CopyFromScreen($bounds.Location, [System.Drawing.Point]::Empty, $bounds.Size)
# 画像をファイルに保存
$filePath = "C:\temp\sample\Screenshot.png"
$bitmap.Save($filePath, [System.Drawing.Imaging.ImageFormat]::Png)
# リソースを解放
$graphics.Dispose()
$bitmap.Dispose()
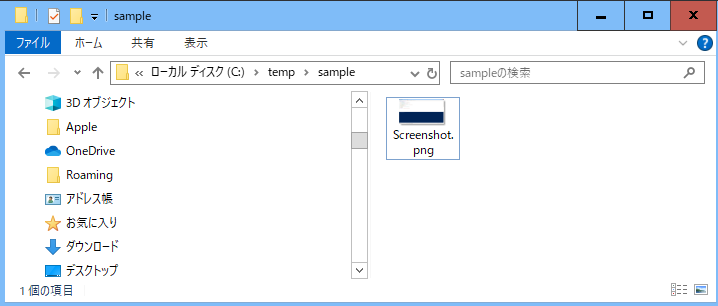
Write-Output "スクリーンキャプチャを取得し、$filePath に保存しました。"実行すると、ファイル(C:\temp\sample\Screenshot.png)が保存されました。
ファイルパスを引数で渡してスクリーンキャプチャを取得する
先ほどのスクリプトを、引数でファイルパス(ファイル名含む)を渡すように修正します。
■GetScreenCapture.ps1
Param([String]$filePath)

Add-Type -AssemblyName System.Drawing
Add-Type -AssemblyName System.Windows.Forms

# スクリーン全体のサイズを取得
$bounds = [System.Windows.Forms.Screen]::PrimaryScreen.Bounds

# ビットマップオブジェクトを作成
$bitmap = New-Object System.Drawing.Bitmap $bounds.Width, $bounds.Height

# グラフィックスオブジェクトを作成
$graphics = [System.Drawing.Graphics]::FromImage($bitmap)

# スクリーン全体をキャプチャ
$graphics.CopyFromScreen($bounds.Location, [System.Drawing.Point]::Empty, $bounds.Size)

# 画像をファイルに保存
$bitmap.Save($filePath, [System.Drawing.Imaging.ImageFormat]::Png)

# リソースを解放
$graphics.Dispose()
$bitmap.Dispose()

Write-Output "スクリーンキャプチャを取得し、$filePath に保存しました。"
■実行
.\GetScreenCapture.ps1 "C:\temp\sample\Screenshot2.png"実行すると、引数で指定したファイル(C:\temp\sample\Screenshot2.png)が保存されました。
まとめ
今回は、Powershellでスクリーンキャプチャを取得する方法について説明しました。